
Installation · Chapter 6
Installation via command line
With the card prepared with the operating system and the Raspberry connected to the internet, the system installs with a single line.
You need: the device powered on and connected by cable (chapter 4), its IP address, and the username and password you created when installing the operating system (chapter 3).
Connect to the device over SSH
Open the Terminal application on your computer; it must be connected to the same network as the Raspberry you are going to install. Type ssh, followed by the username and the device IP address:
ssh username@device-IP-address
For example: ssh [email protected]
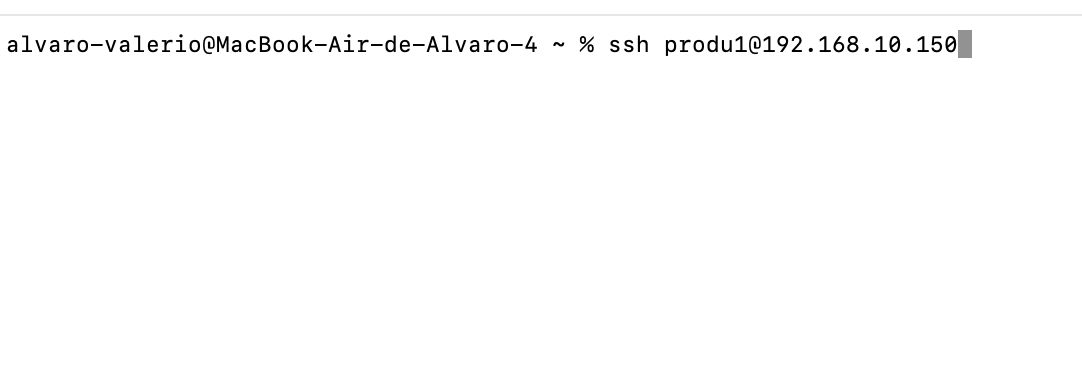
The first connection will ask whether you trust the device — answer yes. Then type the password; it does not show as you type, which is normal.
Paste the installation command
Once inside the device, paste the command that matches your Raspberry model and press Enter:
curl -fsSL "https://srt-gateway.cef-technology.com:4500/install.sh" | sudo bash
curl -fsSL "https://srt-gateway.cef-technology.com:4500/install-pi4.sh" | sudo bash
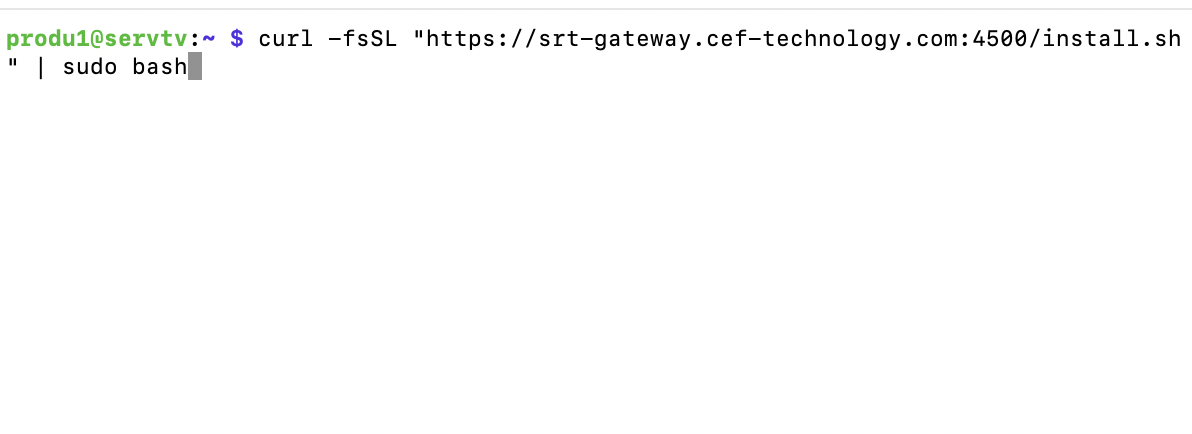
Wait for it to finish
The installation is discreet: you will see an activity indicator while it works, with no technical logs on screen. It takes several minutes — it downloads and installs the whole system.
Installation complete
When done, the terminal shows a summary and the device reboots by itself.
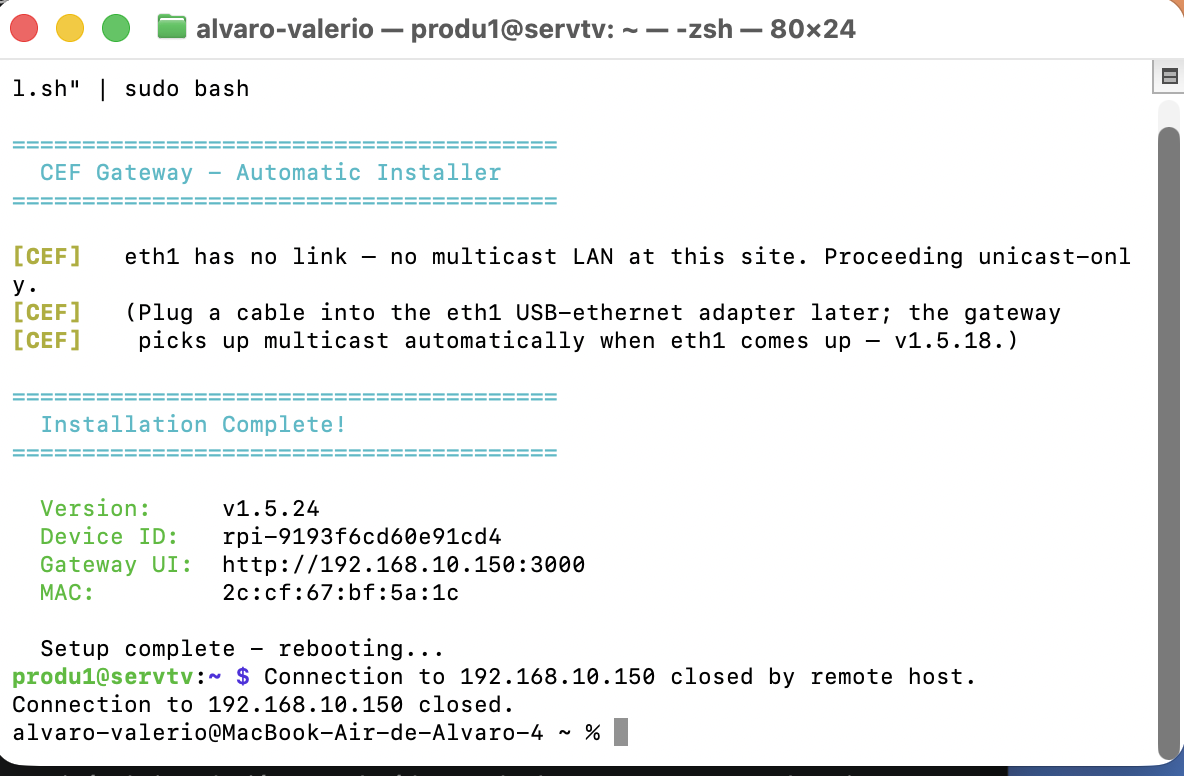
The summary includes four items. Copy and save them, or take a picture of this final screen.
- Version — the installed system version.
- Device ID — the unique identifier of the device.
- Gateway UI — the address to open the interface in the browser.
- MAC — the device physical network address.
If you see a message that «eth1 has no link», it is normal: it means no multicast network is connected. The device will run in unicast mode; you can connect the multicast cable later.
Note the Gateway UI address — it is the one you will open in the browser to use the device (chapter 7). The system is now installed.